1. Go to your Profile page on the bottom left-hand corner of your LenderLogix dashboard. Once you're on that page, you'll notice 4 tabs you can toggle between.
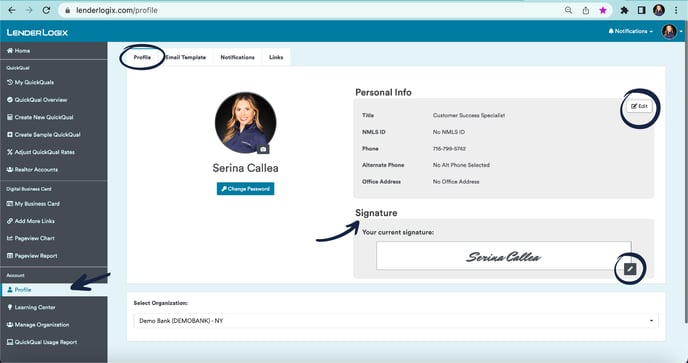
Tab 1. Profile- Upper right-hand corner you can edit the contact information you want to share on your digital business card. The signature you choose will show on your Pre-approval/Pre-Qual letters.
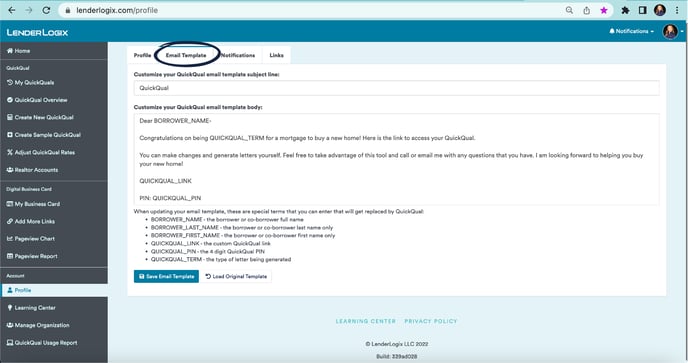
Tab 2. Email Template- You can customize the email subject and the body of the email that sends when you share a QuickQual with the borrower.
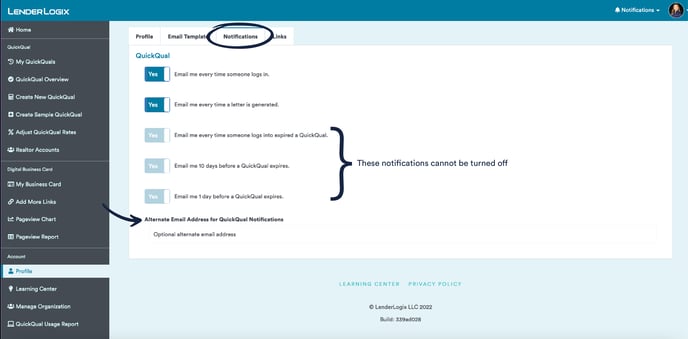
Tab 3. Notifications- You will be notified through email always. Select yes/no if you want to be notified when someone logs into QuickQual every time and when a letter gets generated every time. The QuickQual expiration notifications are defaulted to notify you through email.
Note: You can enter an alternate email address for QuickQual notifications. Some accounts will add an assistant or a team email so that everyone will get the notifications and not just you!
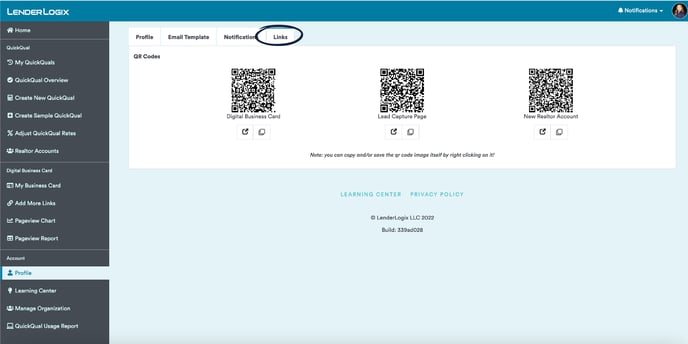
Tab 4. Links- These QR codes are custom to you! Copy, save and start sharing these on your marketing materials. Not sure how to get started with that? Check out this How to Access QuickQual QR Codes article for more info.