Let's walk through the process of editing the email template used to issue QuickQual invitations to your borrowers. By customizing your email template, you can ensure consistent messaging while minimizing the need for extensive editing each time you send an invitation.
Step 1: Accessing Email Template:
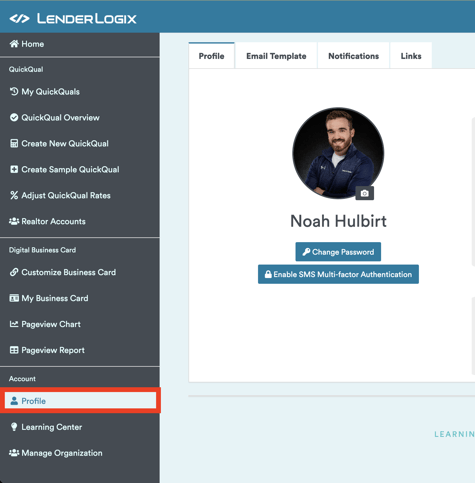
- Navigate to your profile settings in QuickQual
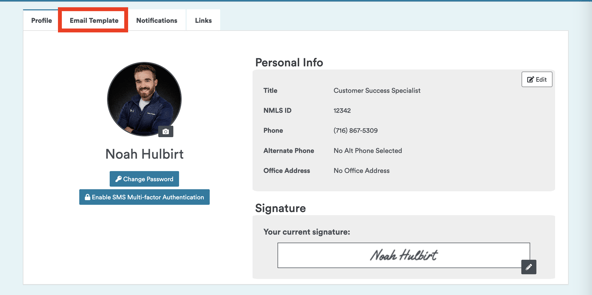
- Locate the "Email Template" tab within your profile settings
Step 2: Understanding Dynamic Fields:
- Notice the presence of dynamic fields denoted by capital letters (e.g., BORROWER_NAME, QUICKQUAL_TERM, etc.)
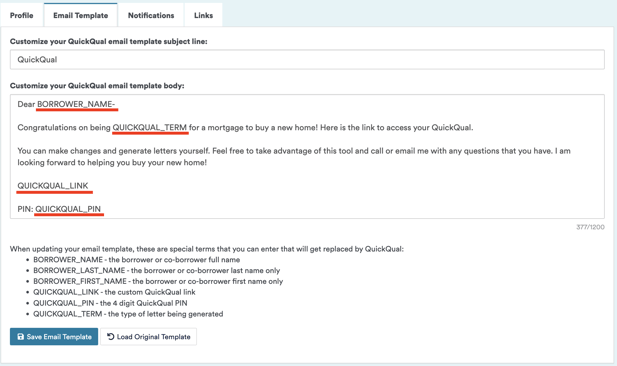
- These dynamic fields automatically populate with relevant information when sending the email to borrowers.
Step 3: Edit Message Content:
- While dynamic fields should remain unchanged, you have the flexibility to edit the email message as well as the email subject line.
Step 4: Saving Changes:
- Once you've made the desired edits to the email template, save your changes
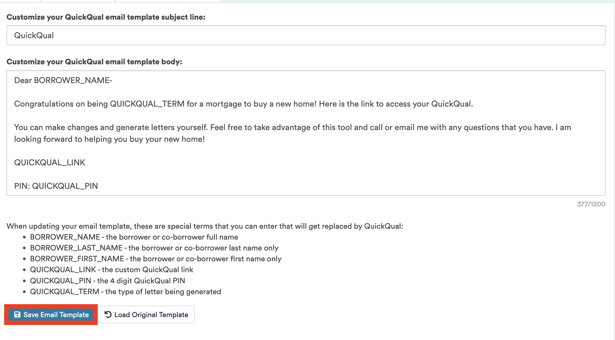
- This ensures that the next time you issue a QuickQual invitation, borrowers will receive the updated messaging.
Consider email server restrictions while creating your template. Email templates are subject to limitations imposed by your email server (e.g., Outlook, Gmail) and most have a limit of around 1000 characters for templates.
By following these steps, you can effectively tailor the email template to your liking, ensuring clear and consistent communication with your borrowers. Remember to keep your edits concise and within the limits imposed by your email server to avoid any issues with message delivery. If you run into any issues, feel free to write in to LenderLogix Support, we're happy to help!