Update Fees and Input Additional Credits
Let's walk through the process of updating fees and including additional credits or grants in QuickQual!
Step 1: Access a QuickQual:
- Navigate to the desired QuickQual and proceed to step three.
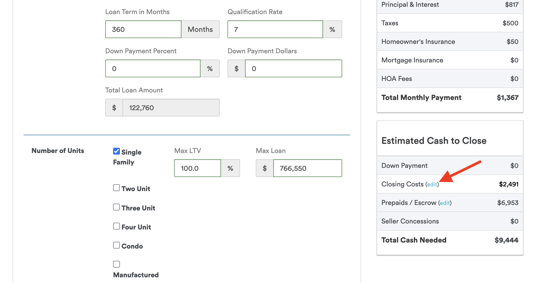
- Locate your itemized closing costs window.
- This item is located in the Estimated Cash to Close window as seen below:
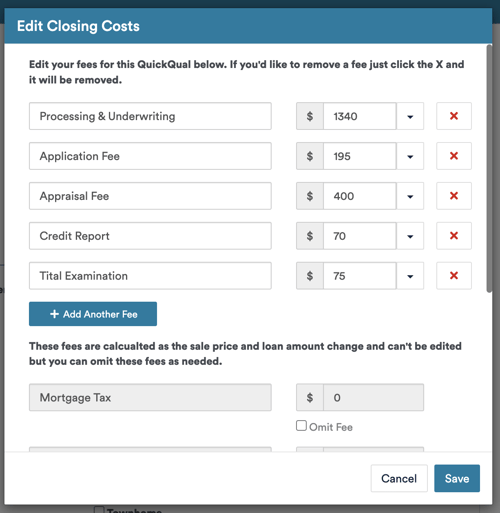
- Selecting the "(edit)" button will open your itemized fees
- This item is located in the Estimated Cash to Close window as seen below:
Step 2: Adding Secondary Credits or Grants:
- Keep in mind that you can only add one grant in the initial Additional Credits or Grant field on Step 3:
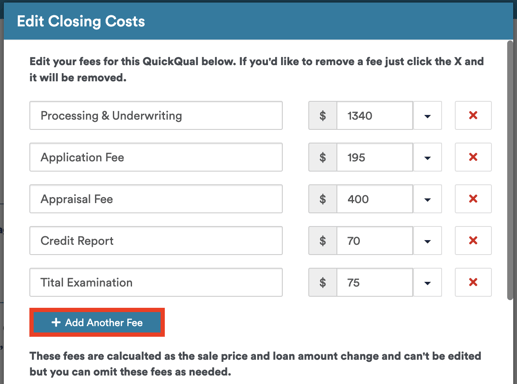
- To reflect additional credits or grants, select the Add Another Fee button in the closing costs window.
- This will reveal a blank field for you to input your additional credit or grant.
- Be sure to use a negative value to include your credit or grant properly. Using a positive value will result in an increase of closing costs.
- Once you've included your additional credit or grant, be sure to click Save.
Step 3: Editing Fees:
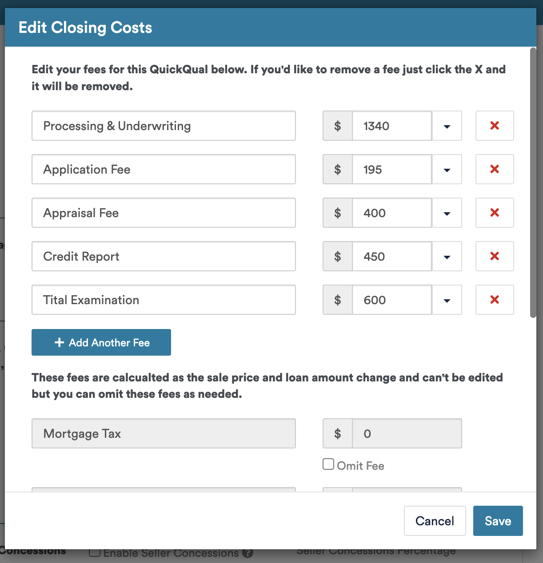
- Just like the steps above, you will want to navigate to your itemized closing costs to edit fees:
- You can change any of the existing fee values, remove the fees, or add in additional fees by selecting the Add Another Fee button.
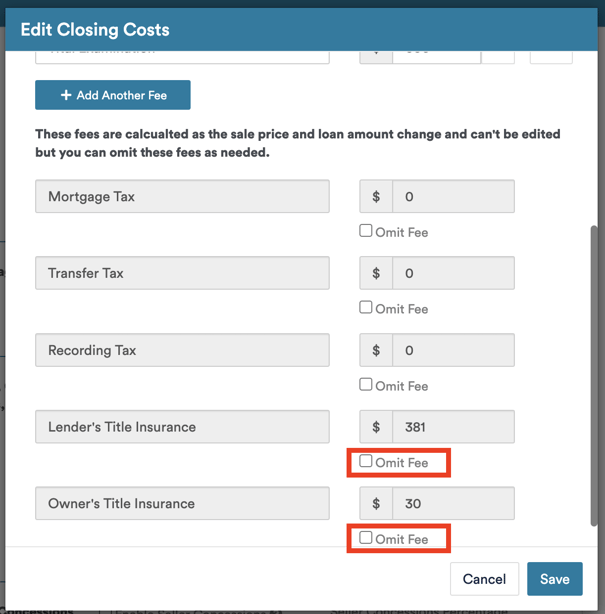
- You are not able to edit the values of the dynamic fees located towards the bottom of the window; however, you can opt to omit the fees if your account is configured to:
By following these steps, you can efficiently edit fees and include additional credits or grants within a QuickQual. Don't hesitate to reach out to our support team with any questions on this, we're happy to help!
