Let's walk through the steps of using the filter and sort features within your QuickQual menu. Follow these steps to efficiently manage your active and expired QuickQuals:
1. Navigate to Your My QuickQuals Page:-
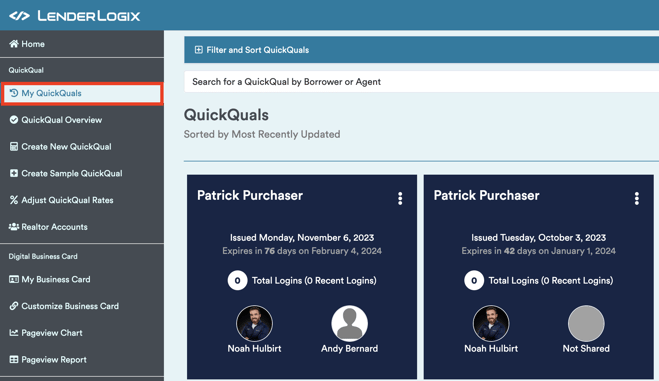
- Start by accessing your My QuickQuals page, where you'll find tiles for all your active clients. If you scroll down to the bottom, you can view your expired QuickQuals.
- Start by accessing your My QuickQuals page, where you'll find tiles for all your active clients. If you scroll down to the bottom, you can view your expired QuickQuals.
-
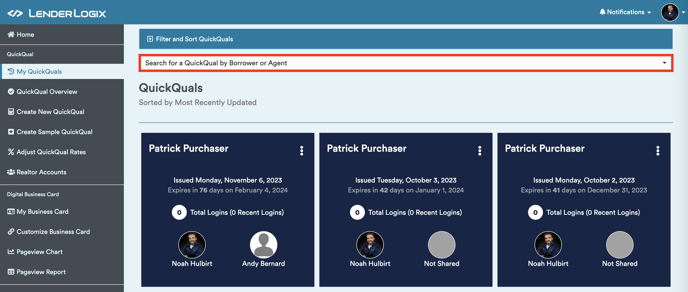
- Utilize the search bar at the top to narrow down results by borrower or real estate agent, helping you locate a particular QuickQual quickly.
- Utilize the search bar at the top to narrow down results by borrower or real estate agent, helping you locate a particular QuickQual quickly.
-
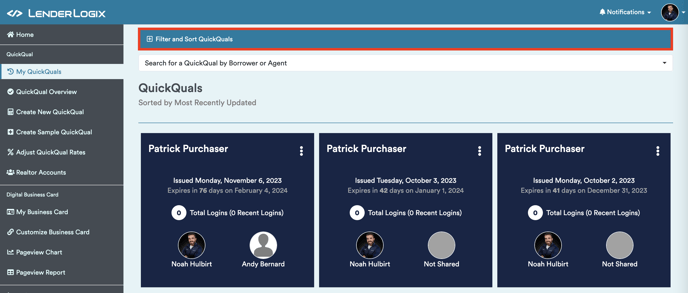
- Located at the top is the "Filter and Sort QuickQuals" tab. Click to open this feature.
- Located at the top is the "Filter and Sort QuickQuals" tab. Click to open this feature.
-
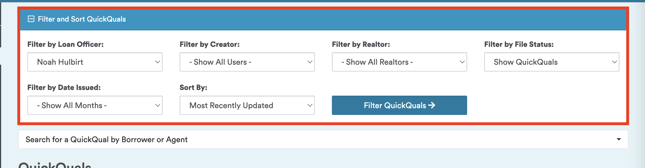
- Keep in mind: For loan officers, the search is limited to their own files. If you're a manager or admin, use the "Filter by Loan Officer" dropdown to search for different loan officers.
- Additional dropdowns allow you to filter by creator, real estate agent, or file status. You can also sort files based on the date issued or most recently updated.
- Keep in mind: For loan officers, the search is limited to their own files. If you're a manager or admin, use the "Filter by Loan Officer" dropdown to search for different loan officers.


-
- Pay attention to the "Filter by Status" option. By default, the My QuickQuals page displays both active and expired QuickQuals. QuickQuals expired for 120 days are moved to a disabled category.
- Pay attention to the "Filter by Status" option. By default, the My QuickQuals page displays both active and expired QuickQuals. QuickQuals expired for 120 days are moved to a disabled category.

-
- If you need to find an older QuickQual not appearing on the list, use the "Filter by File Status" option.
- Select "Show Disabled" to view all older, archived QuickQuals.
-png.png?width=515&height=371&name=image%20(2)-png.png)
-
- QuickQuals are never deleted; they are moved to a disabled status after 120 days.