 Let's walk you through the process of disabling or expiring a QuickQual in LenderLogix. Follow these steps to efficiently manage your QuickQuals:
-
-
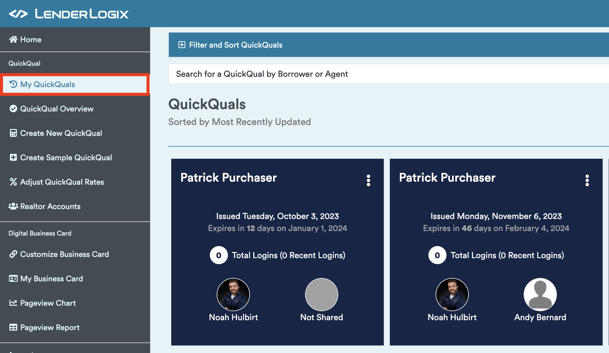
Start by heading to your account menu and selecting the "My QuickQuals" option.
-
This will lead you to your dashboard, where you can locate the specific QuickQual that you want to either expire or disable.
-
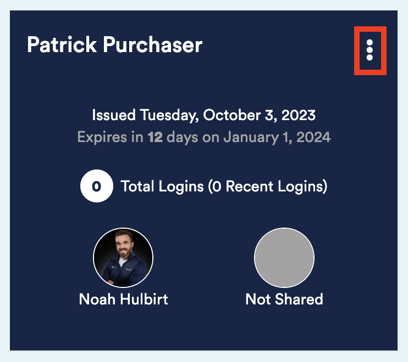
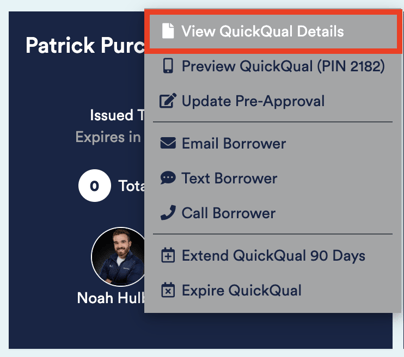
Click on the three dots on the desired QuickQual, and choose the top option, which is "View QuickQual Details."
-
-
-
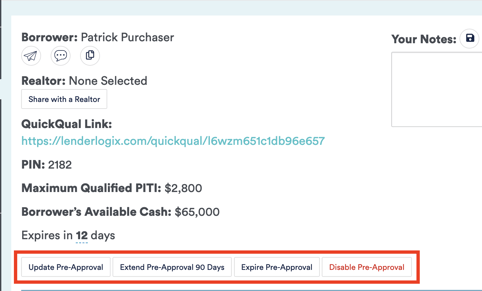
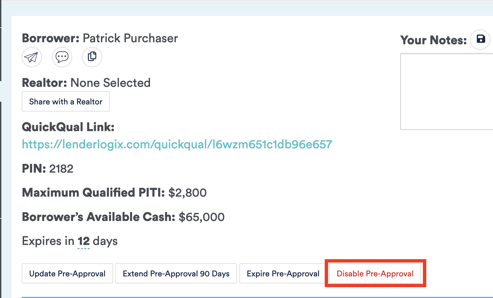
On the QuickQual Details page, you'll find a series of four boxes.
-
Two of these boxes are relevant to this guide: The "Expire" and "Disable" options.
-
Expire: When you expire a QuickQual, the borrower and the realtor can still access and view the calculator. They can run scenarios, see payment details, and closing costs information. However, generating any type of letter on an expired QuickQual is not possible.
-
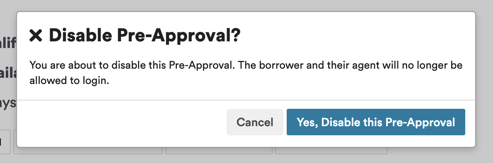
Disable: Disabling a QuickQual removes access entirely. If a borrower or agent tries to access a disabled QuickQual, they receive a message indicating that they no longer have access.
-
-
-
-
Let's say you want to disable a QuickQual. To do this, simply select the "Disable" button and confirm your decision when prompted. This action moves the file into an archive.
-
- Important Note: QuickQuals are never deleted. They remain accessible to you and you can retrieve them by going into your archive.
-
-
- If you need to retrieve or reactivate a disabled or expired QuickQual, have a look at our guide on filtering and sorting your QuickQuals.
By following these steps, you can efficiently expire, disable, and manage your QuickQuals. If you have any questions or need further assistance, feel free to reach out to us at LenderLogix!