Let's explore how to effectively manage expiration dates in your QuickQuals. Aligning the expiration of your QuickQuals with the expiration of your credit reports ensures accuracy and consistency in your loan processing.
Step 1: Understanding Default Expiration Settings:
- When you create a QuickQual for the first time, it comes with default expiration settings, typically set to 60, 90, or 120 days.
- These default settings may not always align with the expiration date of your credit report, necessitating adjustments.
Step 2: Updating Expiration Dates:
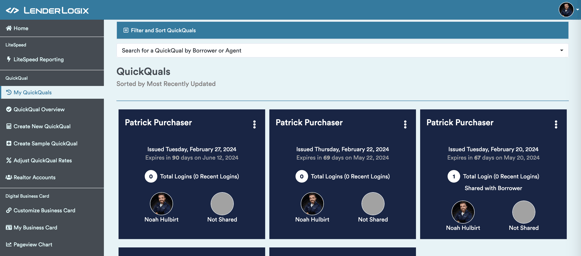
- To update the expiration date of a QuickQual, head to your My QuickQuals page and locate the tile you wish to modify.
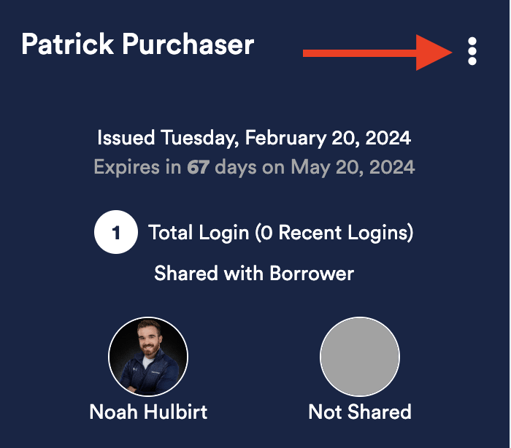
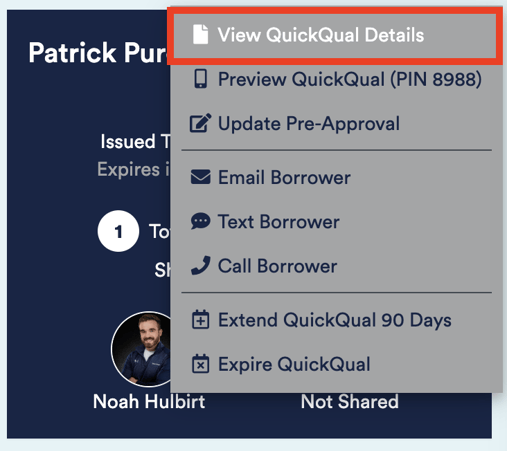
- Click on the three dots menu and select "View QuickQual Details."
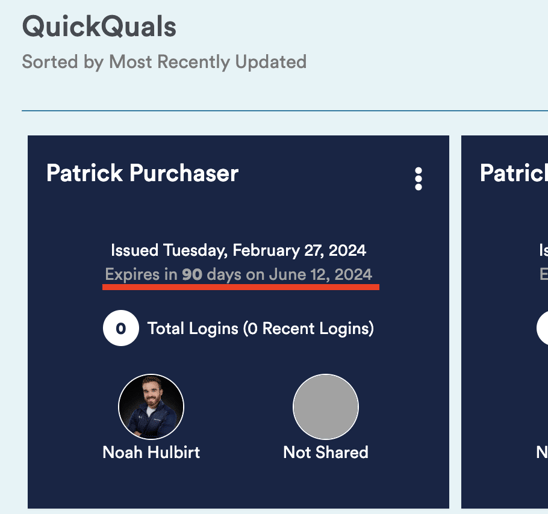
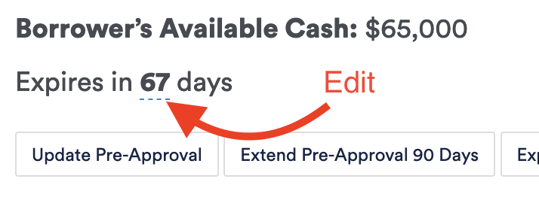
- Find the "Expires in X number of days" section and click the number to edit.
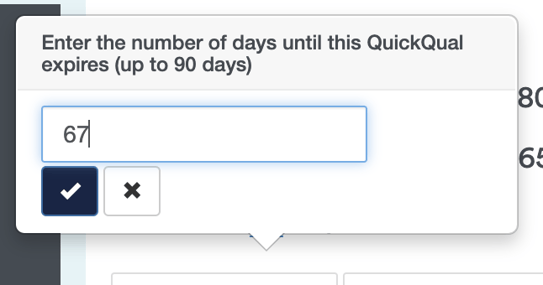
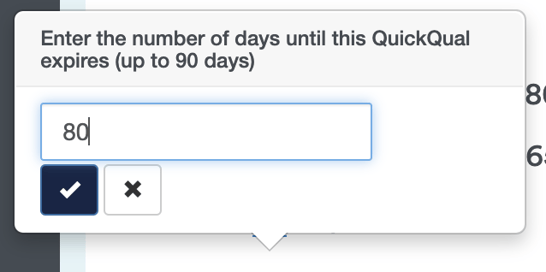
- Input the desired number of days until expiration, aligning it with the expiration date of your credit report.
- Click the blue checkmark to save your changes.
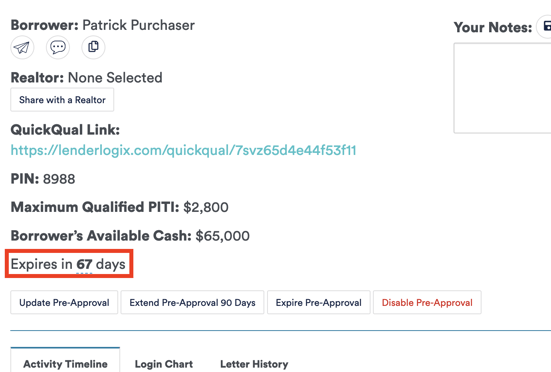
Step 3: Managing Other Expiration Aspects:
- In addition to updating expiration dates, you can also manage other aspects of expiration.
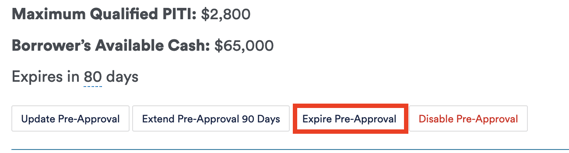
- Instantly expire a pre-approval if needed, allowing borrowers and agents to access the tool but preventing them from generating letters.
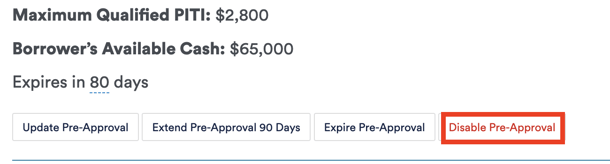
- Disable the pre-approval entirely to restrict access to the provided link.
- Instantly expire a pre-approval if needed, allowing borrowers and agents to access the tool but preventing them from generating letters.
-
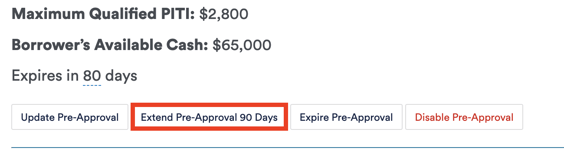
- Extend the expiration date as necessary and even push it back out to your default timeframe.
- Extend the expiration date as necessary and even push it back out to your default timeframe.
By following these steps, you can effectively manage expiration dates in your QuickQuals, ensuring alignment with credit report expirations and maintaining accuracy in your loan processing. For any further guidance or support, contact our support team here at LenderLogix!